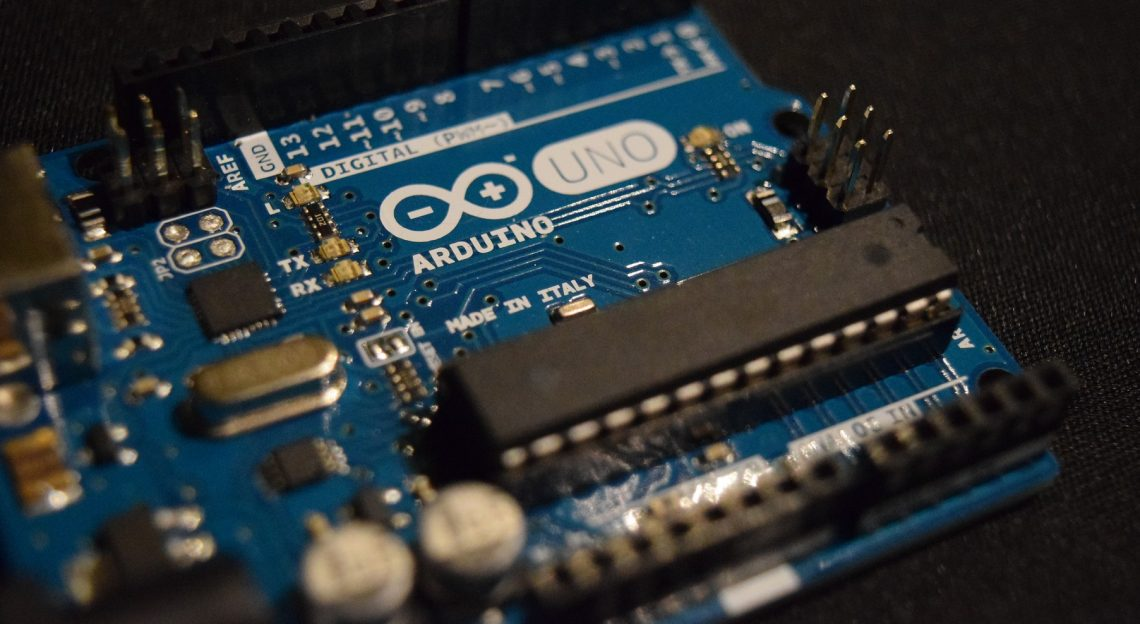
 Struggling to keep your Arduino projects clean and organized? Then PlatformIO is just what you need! In this article I will show you how can get started with PlatformIO to perfectly manage your Arduino projects.
Alright, what is PlatformIO?
PlatformIO is an Atom package that helps you organize software development for microcontrollers. One of the supported microcontrollers is Arduino. The package provides you with a clean, intuitive interface to organize different projects. It has almost everything that the Arduino IDE has. The package can also compile and upload your code to connected Arduino’s.
Getting PlatformIO
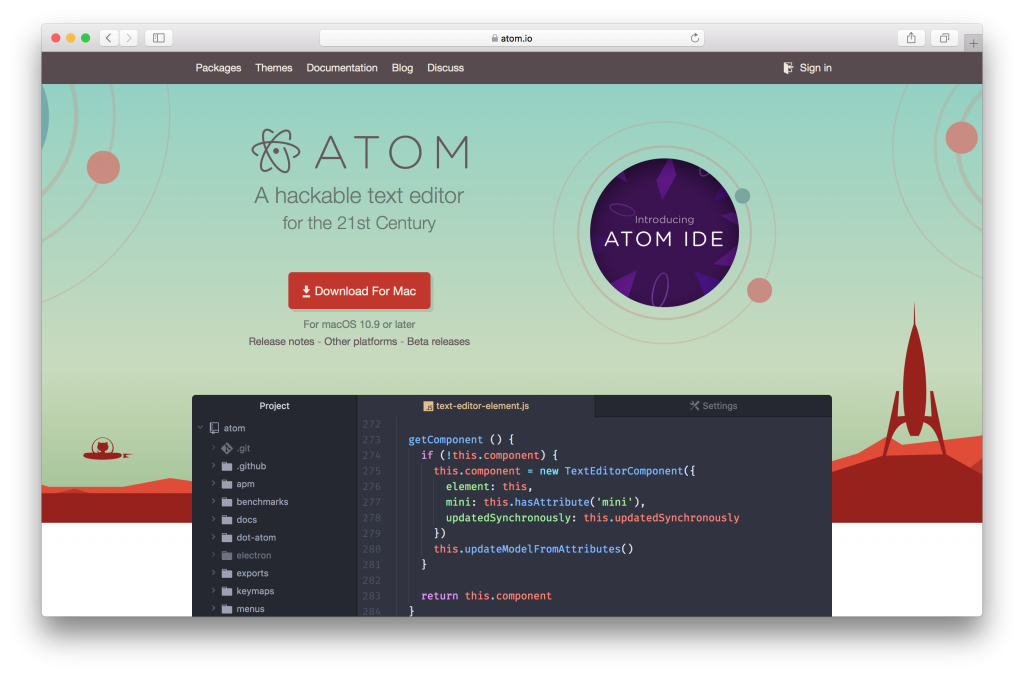
Since PlatformIO is a set of plugins written for the Atom IDE we first need to get Atom. You can just go to atom.io and hit the big download button. If you’re on a Mac, simply drag the download to your applications folder. If you are on Windows you can just open the installer and follow the instructions.
Once you have installed Atom you can open the program and you will see the welcoming screen. Continue by clicking on ‘Install a Package’ and you will find yourself at the settings page for installing new packages. Alternatively, you can go to settings>install.
Now that you have found the package installer you can install the PlatformIO package. You can do this by simply typing ‘PlatformIO’ in the search bar on top. Most likely, all PlatformIO will appear on top of your result list. Go ahead and install these four atom packages.

- **platformio-ide-terminal**
- platformio-ide
- platformio-ide-debugger
- platformio-aia
Once all packages are installed Atom will friendly remind you to restart, hit restart and you’re all set.
Setting up your first project
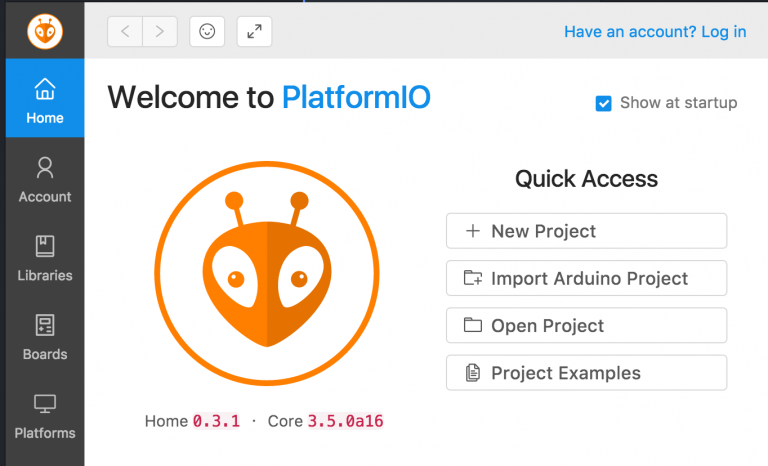
The first thing you will notice when starting Atom is a new home screen. In this homescreen you can open your recent projects, create new ones and even import your existing Arduino projects. Also, the home screen includes a library browser where you can download Arduino libraries. If you want you can take a look at a list of all available boards in the boards tab. However, we will continue by creating a new project from scratch. Go on and click on the ‘New Project’ button.
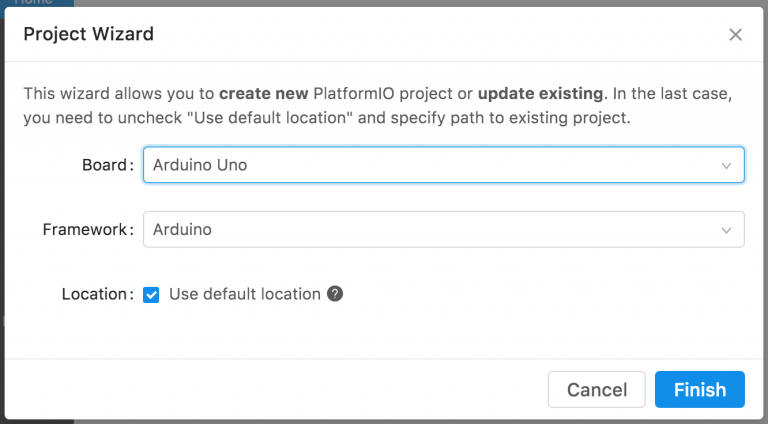
 A new window will pop up asking for the board you are programming, Click the bar and search for your Arduino type (mine is Arduino Uno). Then hit enter. In the second bar look for the Arduino framework. If you wish to use an alternative project location, uncheck the ‘Use default location’ mark and pick a new location. For now, we will save our new project in the default location. When you are done, hit the finish button. Now your basic project structure will be generated.
It’s time to start programming
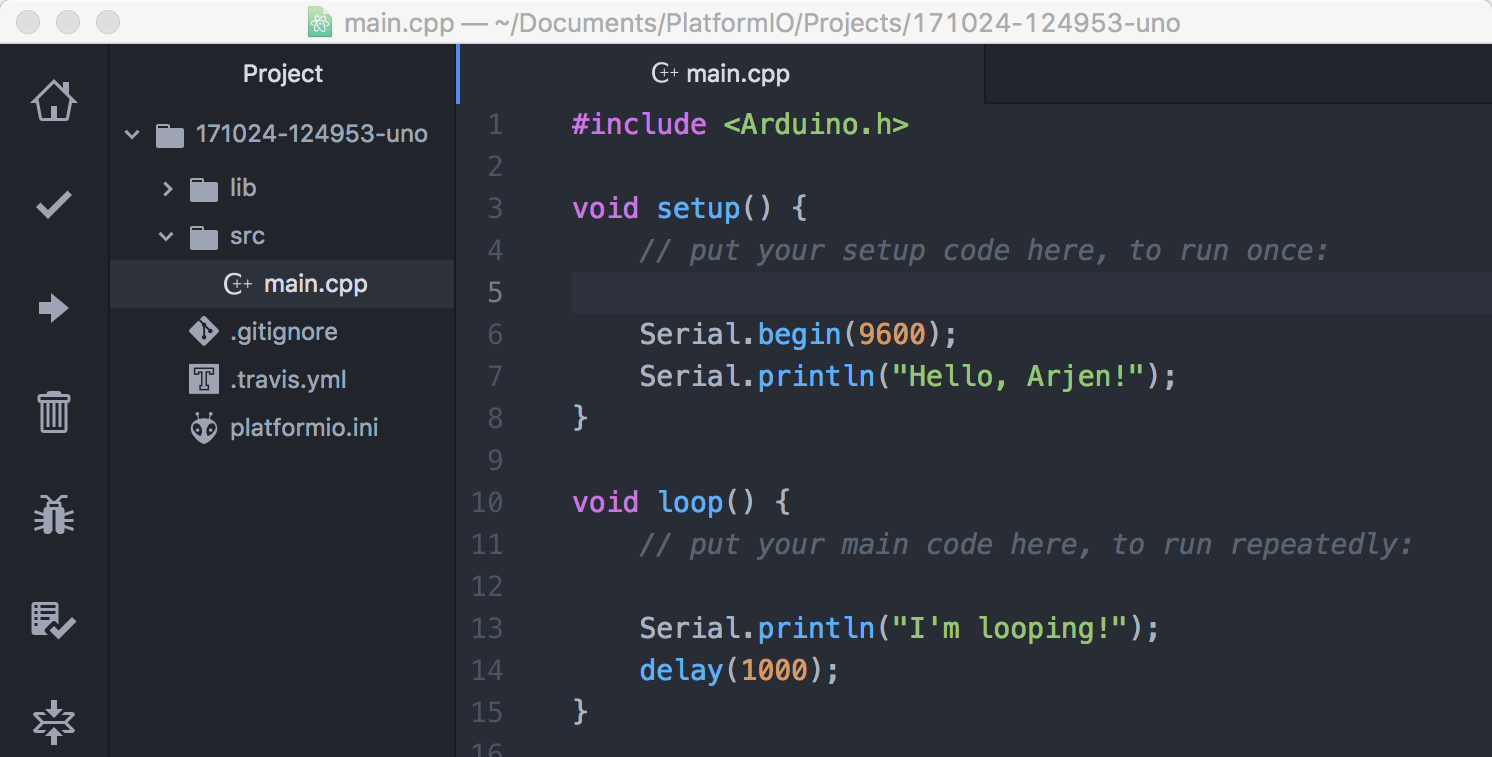
In the project you will find a source folder as well as a library folder where you can add (or write) libraries for your project. You can find the setup and main loop of your project in the main file located in the source folder. As you can see, inside the methods I already added some test code. In the setup the Arduino will write “Hello, Arjen!” to the serial monitor once. After that, when te loop starts, every second “I’m looping!” will be printed.
Let’s test our program
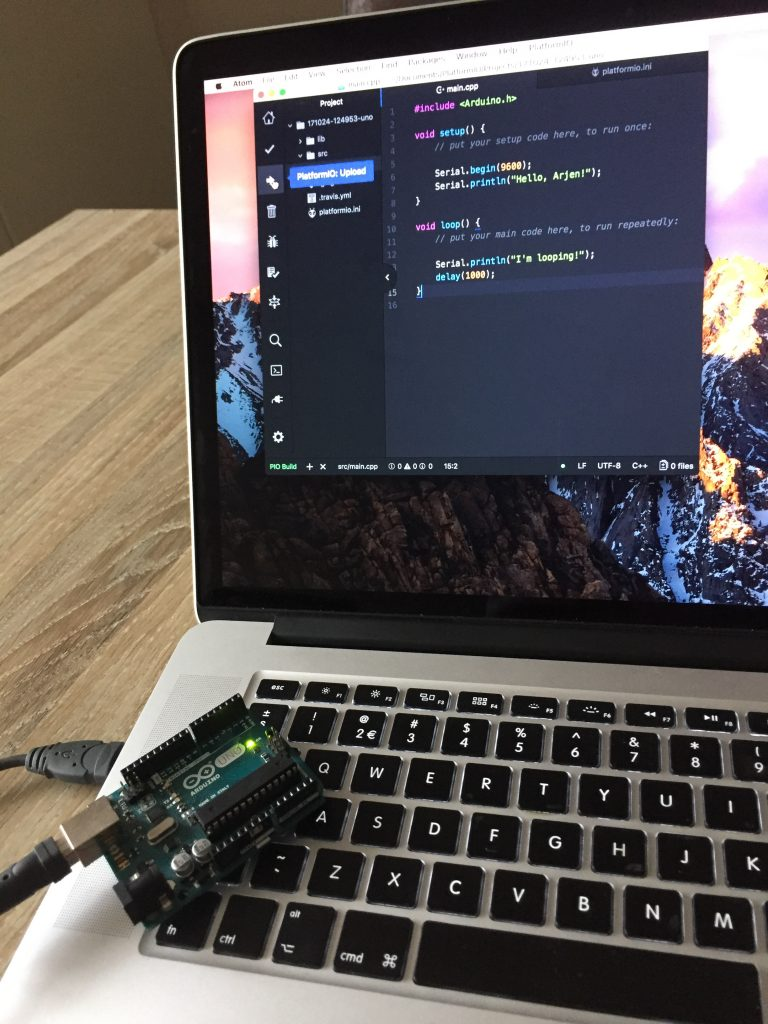
Finally, test your program by uploading it to your Arduino. First, hook up your Arduino to your computer and click the upload button in the toolbar on the left of the window. Once the upload is completed start your serial monitor by clicking the serial monitor icon in the toolbar.
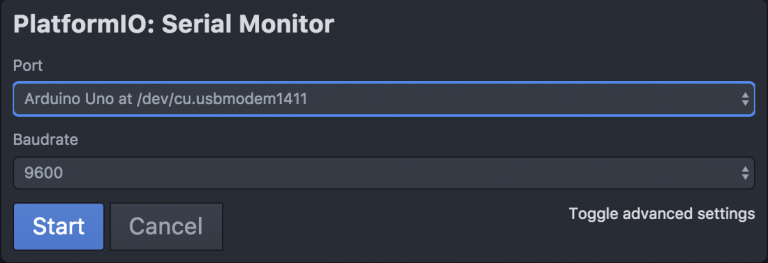 Select the port you connected your Arduino to, for Windows users this will most likely be COM1 or COM3. Select the baudrate of 9600 (just as in the code)
The final result:
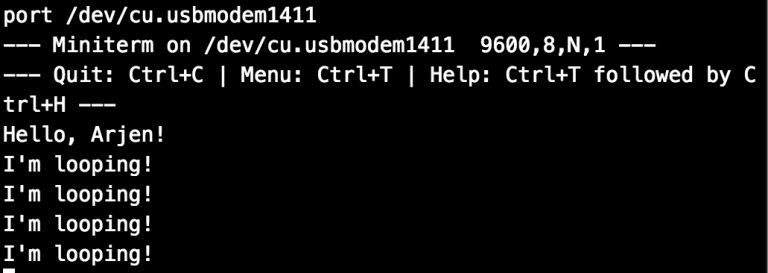 The serial monitor output
Thank you for reading.
If you have any questions or tips, feel free to let me know!