 As I’m diving into Nostr, I’m learning that it’s a good idea to get NIP-05 verified. This is nothing more than a tool to make you more findable in a web of public keys or to prove you have access to a domain. NIP-05 wil help you be findable by [email protected] instead of a public key that look like this:
 npub1hw6amg8p24ne08c9gdq8hhpqx0t0pwanpae9z25crn7m9uy7yarse465gr
Prerequisites
- A Nostr private/public key-pair
- A CloudFlare account
- At least one tied to your CloudFlare account
Assumptions
I’m going to assume that you own your domain and that you are only trying to NIP-05 verify your own Nostr account.
How NIP-05 Verification works
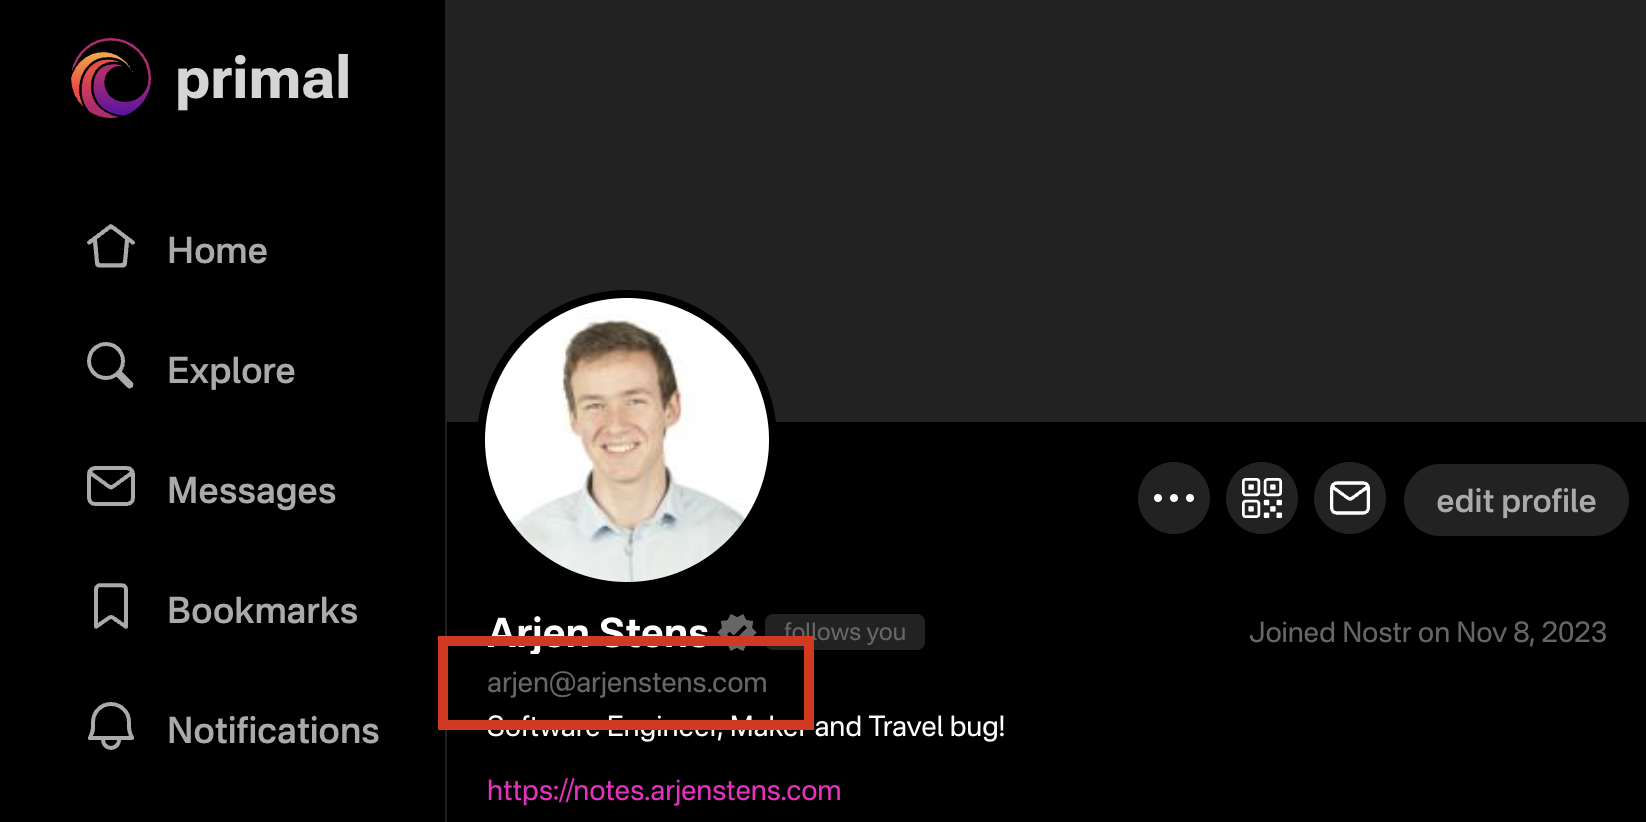
NIP-05 verification works by adding an identifier to your profile (Kind 0 event). This identifier looks like an email address. Mine is [email protected], and the domain should be either owned by you, OR the owner has to add your identity to their domain.
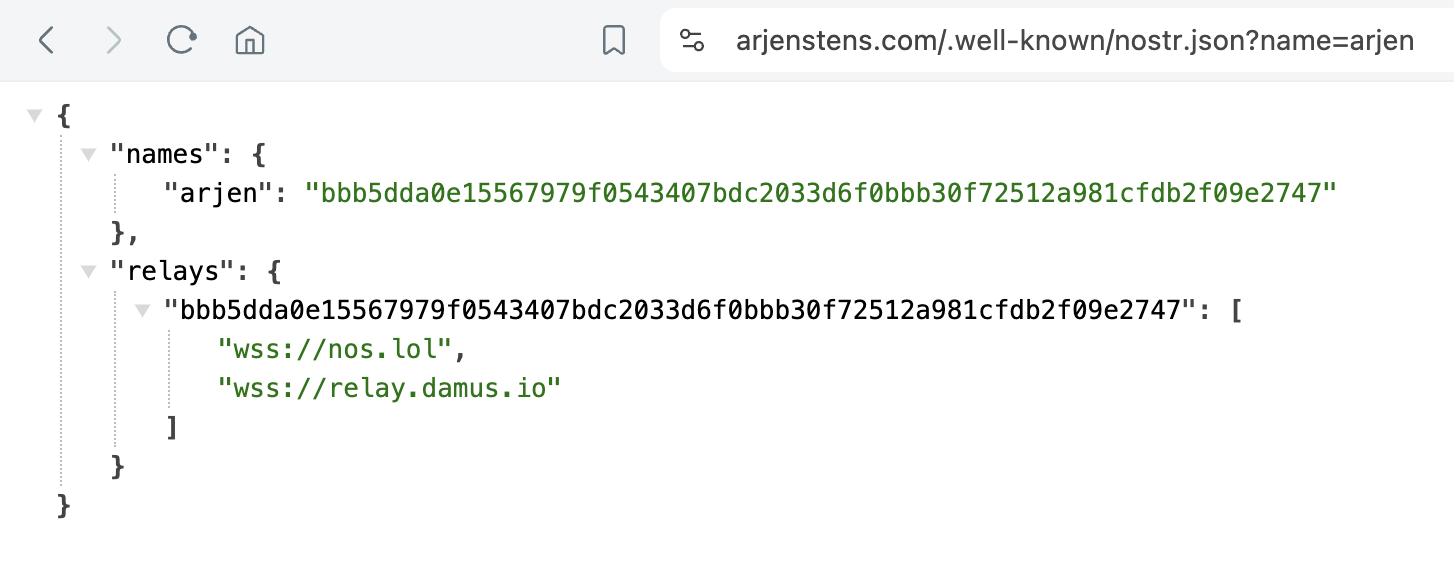
When a client sees this identifier, it can verify it by calling an endpoint on the provided domain. So arjenstens.com with the part before the @ being passed as a url parameter, so arjen. This results in the following call: https://arjenstens.com/.well-known/nostr.json?name=arjen. If the endpoint returns the public key of that same profile you’re looking at, you can safely say that this person indeed owns -or, is trusted by- that domain name’s owner.
This verification can be particularly useful for organisations to prove somebody’s connection to them. Like [email protected] or [email protected].
Let’s get started
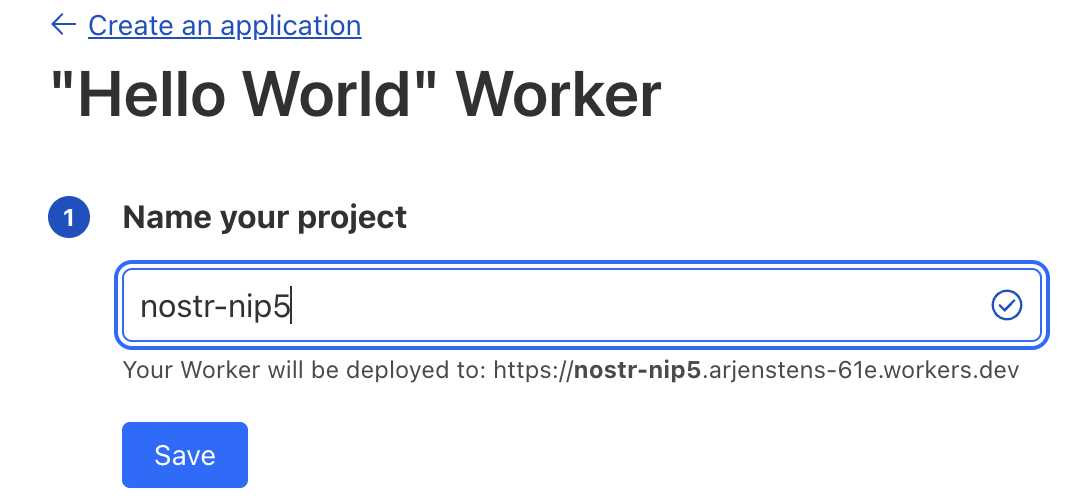
In the left side menu in CloudFlare, go to Workers & Pages, hit Create, Create Worker and pick a beautiful name, click next and hit finish. This will create a “Hello, World!” worker for you.

Ok, so now you have set up a worker. Our next step is edit the code of this worker to return your profile’s information. Go to the overview page and hit Edit Code. In the code editor paste the following code:
export default {
	async fetch(request, env, ctx) {
		const data = {
			names: {
				YOUR_USERNAME: "YOUR_HEX_NPUB"
			},
			relays: {
				"YOUR_HEX_NPUB": [ "wss://nos.lol", "wss://relay.damus.io" ]
			}
		};

		const json = JSON.stringify(data, null, 2);

		return new Response(json, {
			headers: {
				'Access-Control-Allow-Origin': '*',
				'Content-Type': 'application/json;charset=UTF-8',
			},
		});
	},
};
This piece of code will expose an endpoint that returns the content under data in JSON format. This can be used by anyone to check if [email protected] is actually owned by you. The YOUR_HEX_NPUB field should be not your regular npub, but a hex version of it. You can convert yours to a hex version of your key here.
The relays part is optional, but recommended. Here you can configure your preferred relays so that people know on which ones to find you. It is important to also respond with the Access-Control-Allow-Origin header to Allow access from JavaScript apps.
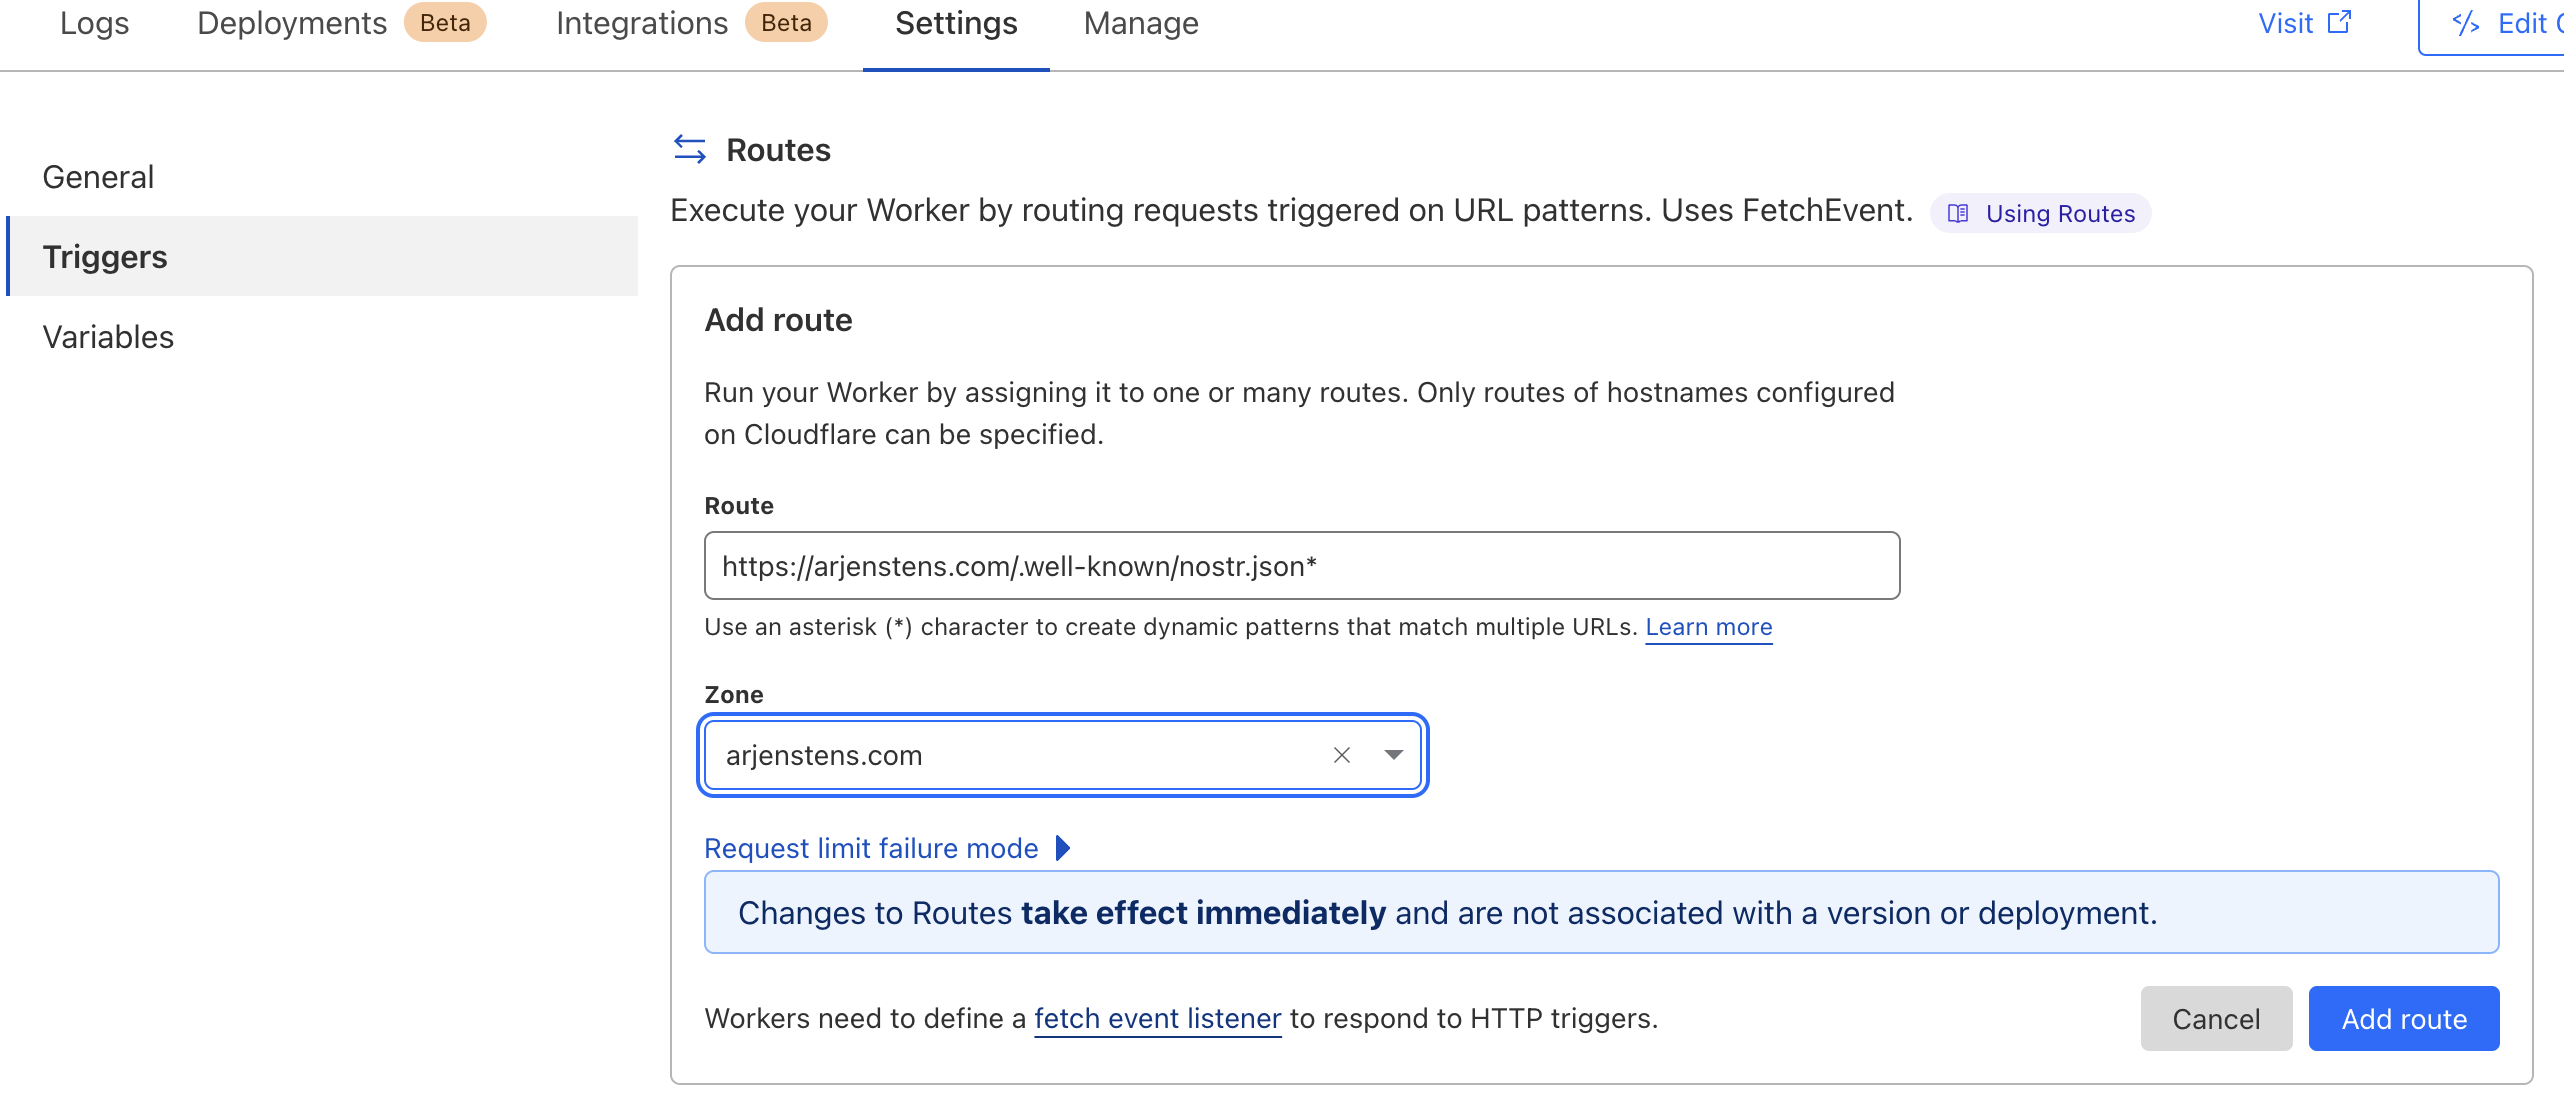
Go ahead and deploy the code. But we’re not done yet, we still need to point our custom domain to this worker. Go to the Settings tab → Triggers, and click Add route. Here you’ll want to add the following string, make sure to adjust it for your personal domain.
https://your-domain.com/.well-known/nostr.json*
Under Zone, you should select the domain that you have linked to your Cloudflare account and that you want to use.

Once you’ve added the route, you should be able to call your nip-05 verification endpoint. In my case the following URL would be called by clients.
https://arjenstens.com/.well-known/nostr.json?name=arjenBecause we set a wildcard on the route, any request will resolve my name/npub. Example:

