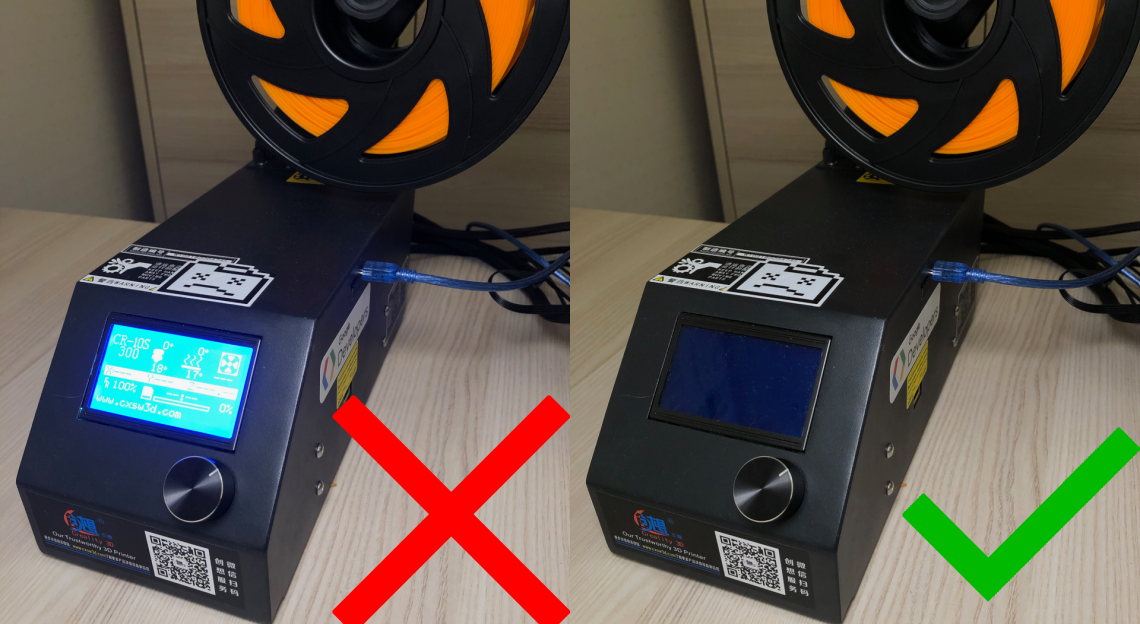
 Are you totally done with having to unplug your 3D printer from your Raspberry Pi each time you want your printer’s screen to turn off along with the rest of your machine? In this post I will show you how you can disable the power on a USB-cable so the display of your 3D-printer does not light up while it is turned off.
Happy as I was when I first got to play around with my brand-new printer, it didn’t take long for me to figure out it that I was missing something. It would be nice to keep an eye on it when I wasn’t around the house. So, I decided to hook up a Raspberry Pi to my printer running Octoprint (which I quickly replaced with Astroprint by the way).
The problem I stumbled upon though, is that I have this printer sitting at a desk in my bedroom. Having the blue light of the printer’s LCD-display light my room is on my top 1 list of annoyances when I try to sleep. Of course, I tried unplugging the USB-cable from printer every night. But I realized that -eventually- this will break the USB-port of my CR-10S. I’m sure most CR-10(S) users will agree that it doesn’t have the most durable USB-port.
Anyways, after looking around on the internet for a bit, I found that you can easily make a data-only cable from your regular USB-cable. I made it, and I love it. That’s why I’m here to help you prevent your USB-cable from powering your printer’s display.
What you need
Here’s a very detailed list of everything you need:
- Tape
- Scissors to cut the tape
- a USB-cable
- Tweezers (not necessary but useful)
I know it is a lot but I’m sure there’s a store near you that sells these kinds of materials if you don’t own them already. ;)
For the sake of visibility, I used duct tape. However, I found that due to its rough surface this kind of tape is easily displaced/damaged by the USB-port’s pin. That’s why I suggest you use regular transparent household-tape. This is because it has a much smoother surface allowing the 5v pin to slide over it instead of ripping it.
Modifying the USB
 Simon Eugster – 7 January 2008 [GFDL, CC-BY-SA-3.0 or CC BY-SA 2.5], via Wikimedia Commons Simon Eugster – 7 January 2008 [GFDL, CC-BY-SA-3.0 or CC BY-SA 2.5], via Wikimedia Commons | 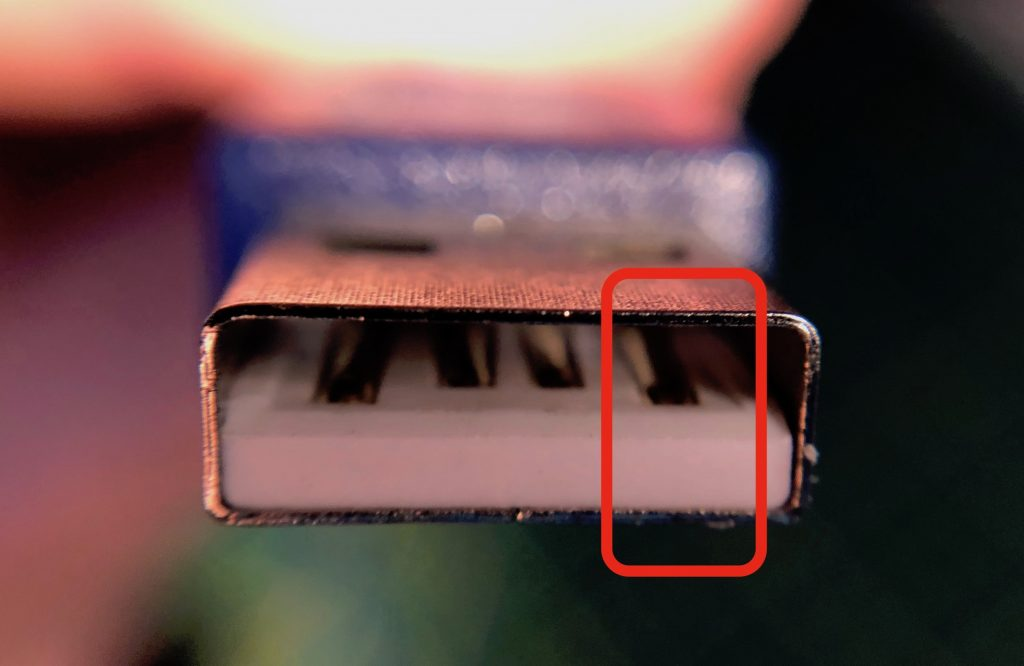 |
|---|
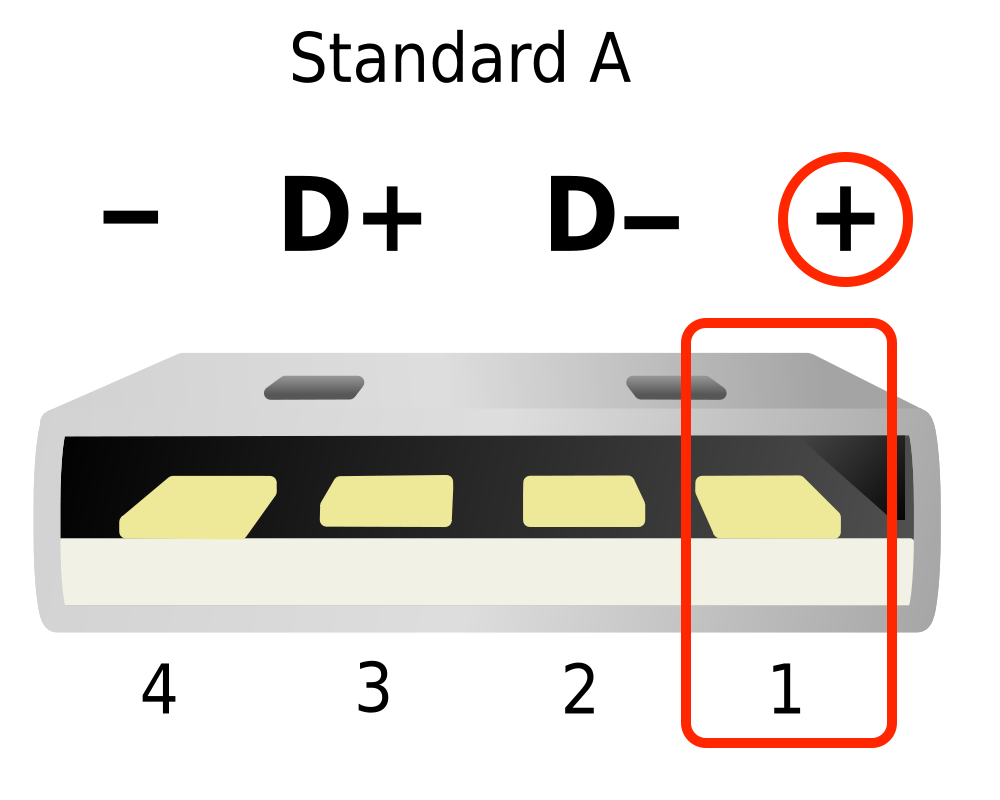
The first thing you need to do is orient the type-A side of your USB-cable. Orient it as shown in the picture (with the thicker part down). You can then identify the positive 5V pin which is the rightmost pin on the connector.
 |  |
|---|
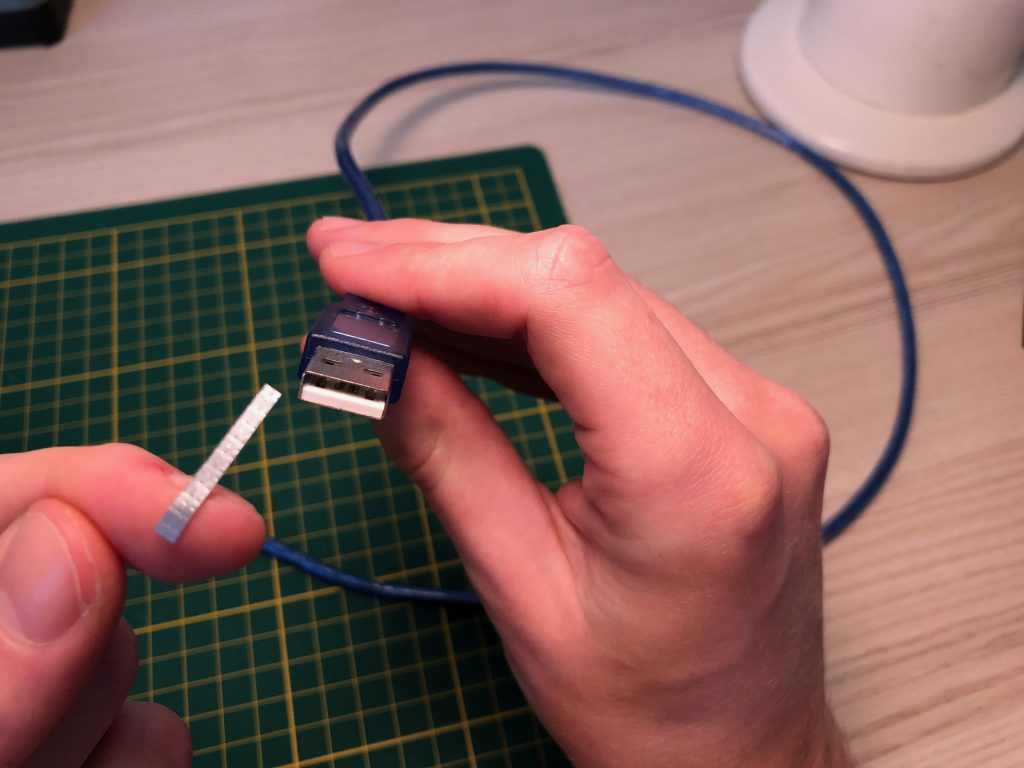
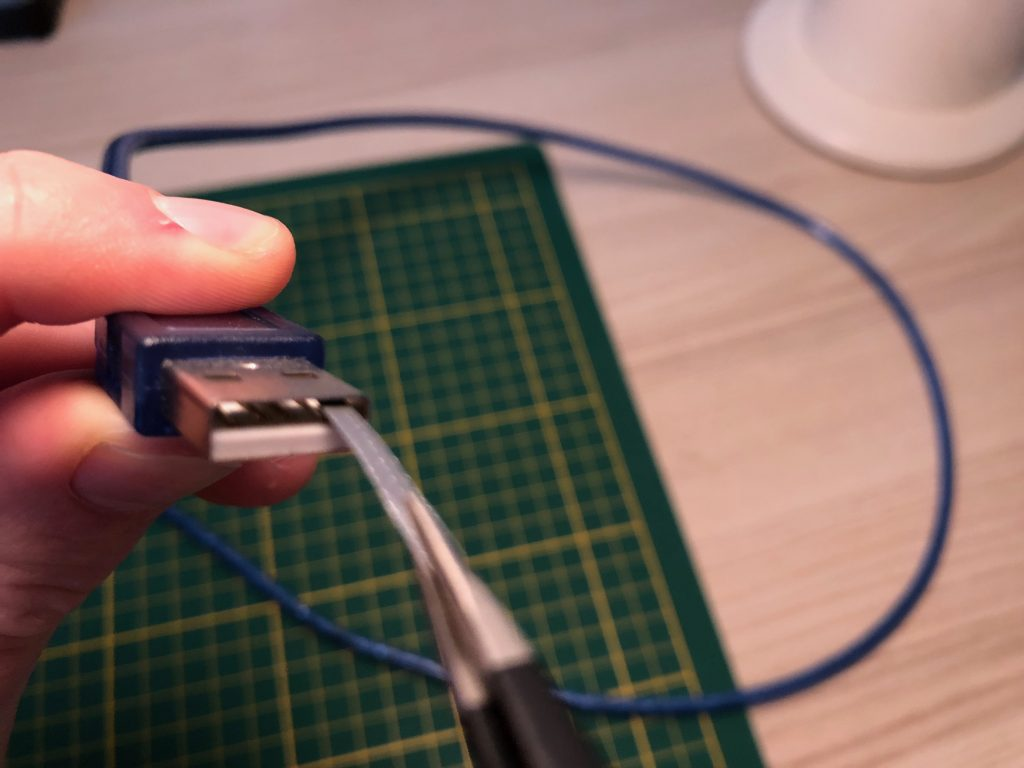
This is where your tape and scissors come in to play. You can now cut your tape to roughly the width of the pin so it will cover the pin completely. Cut the piece long enough to make it wrap around the outside to keep it into place. Make sure you don’t cut the piece too wide to a point where it covers any of the other pins.
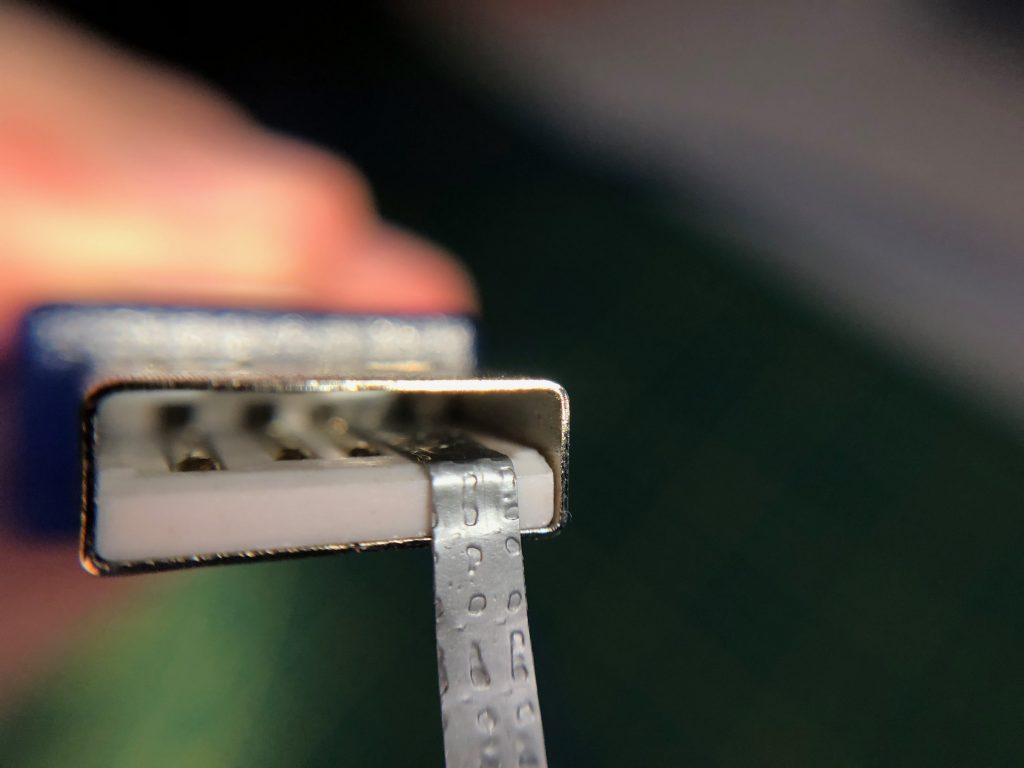 Fold around the remaining tape. Fold around the remaining tape. | 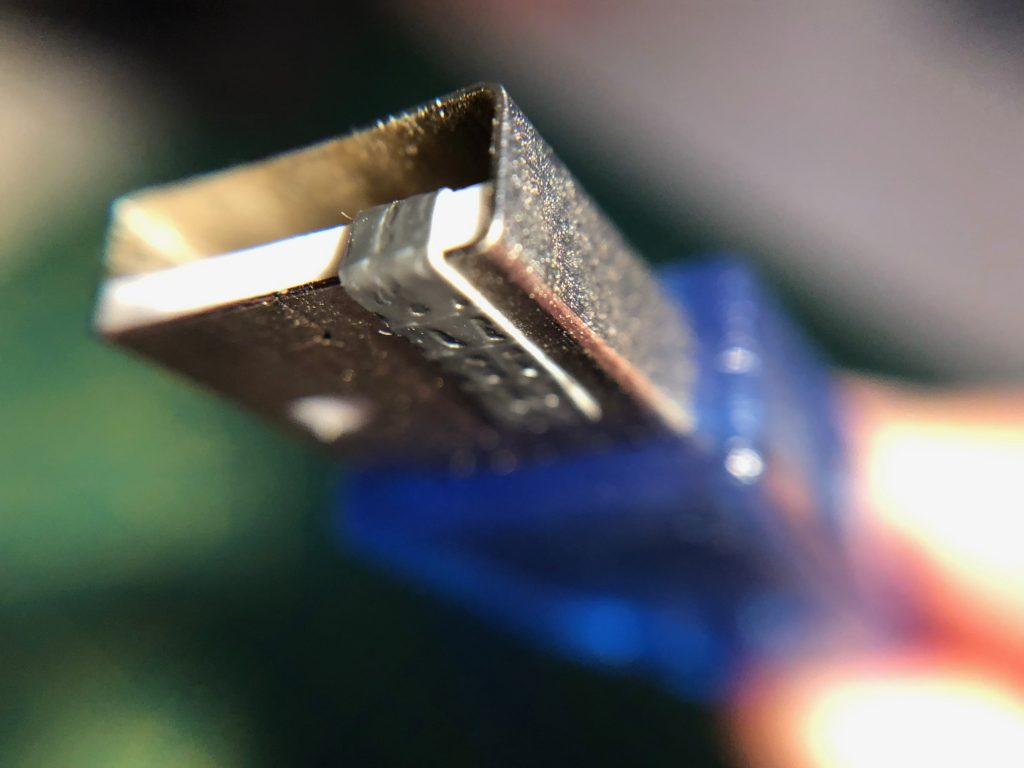 |
|---|
Once you stick the piece of tape over the pin you can just fold the excess part around the edge as you can see in the picture above.
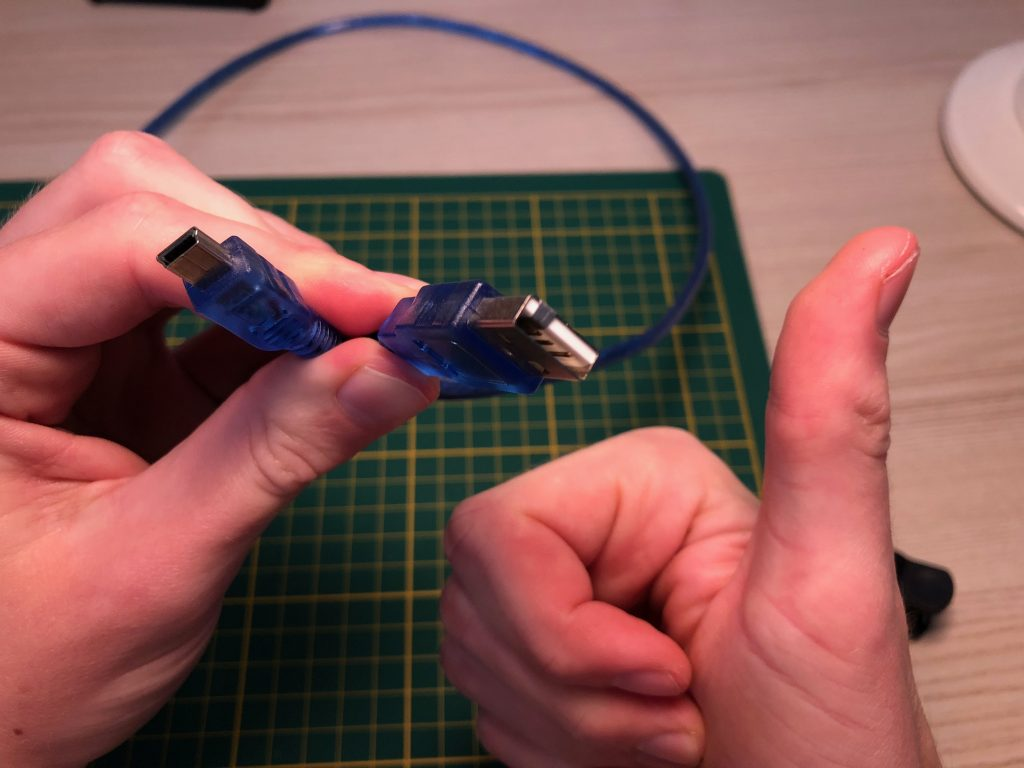
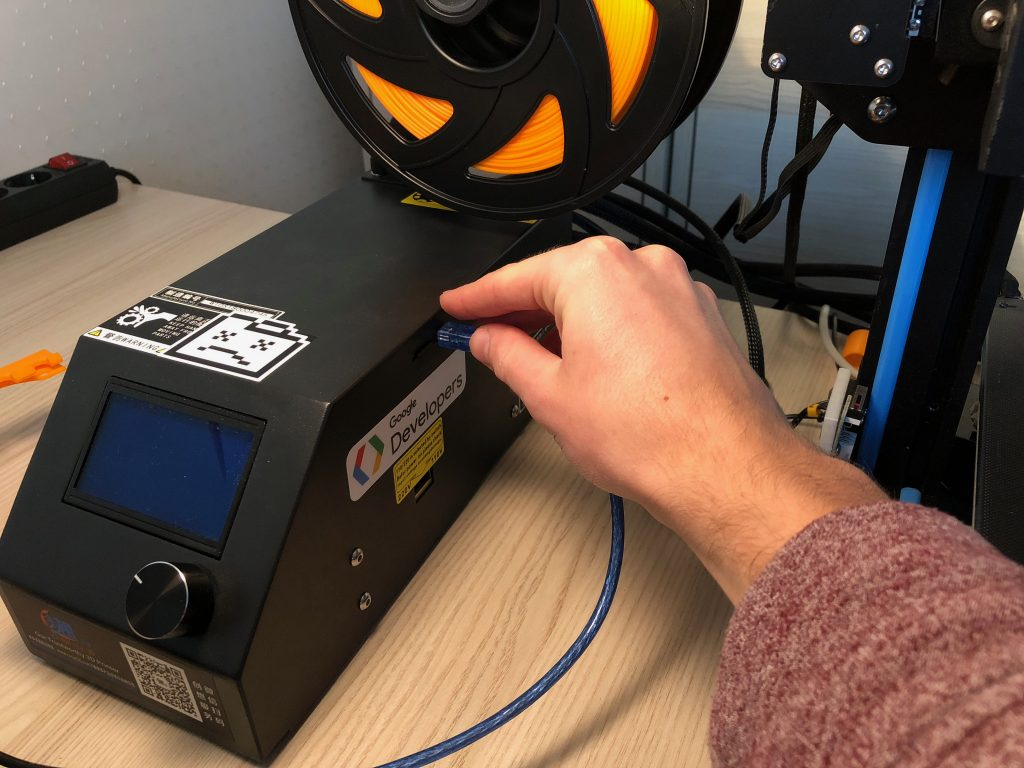
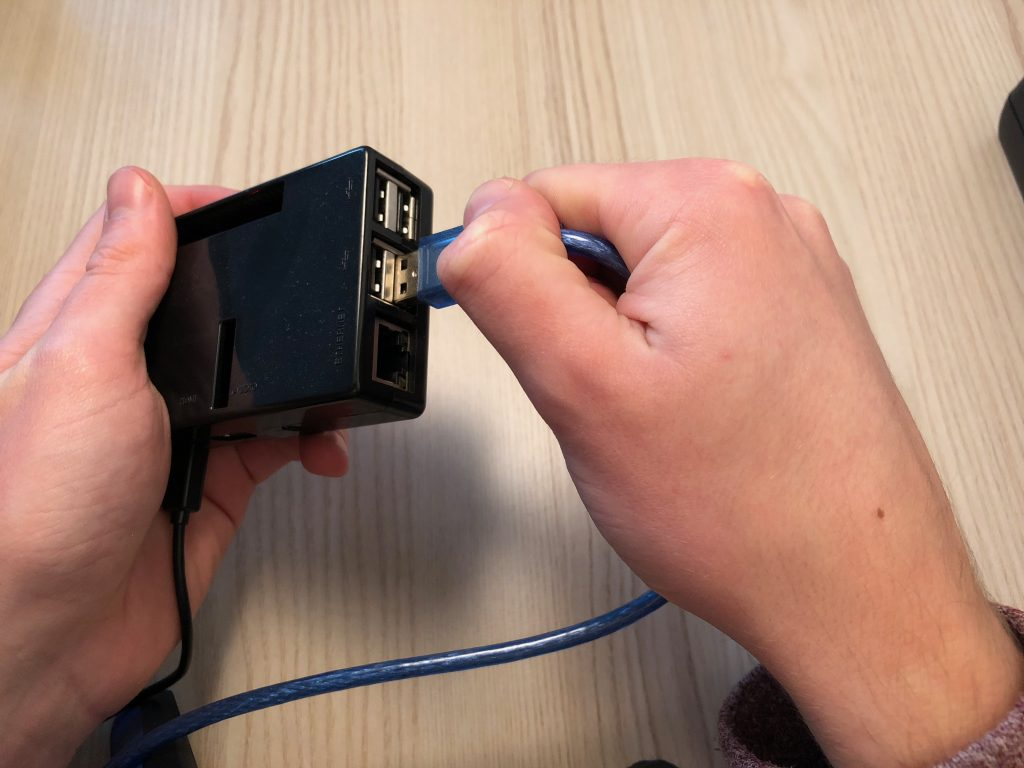
And that’s it! Now you can just plug the cable back in your printer and into your Raspberry Pi and you’re all set!
As you will see, the display of your printer is no longer powered through USB. If the display still stays on when the printer is off, check if the tape wasn’t damaged or displaced by the Pi’s USB-port pins.
Why this works
The nice thing about our good-old USB cables is that you only need 3 of the 4 pins to actually let the devices communicate. The D+ and D- pins carry the actual data that is being transferred. The negative pin is necessary because the communicating devices need to share common ground in order to transfer data.
In short, the 5V+ pin is only there to enable a device to work without having to plug in into another external power-source. Since our 3D-printers have their own power-supply, we don’t need the Raspberry Pi to supply any power to the printer. And by preventing the USB from providing power to the printer, its display won’t stay turned on.
Thank you!
Don’t hesitate to reach out to me if you have any questions or suggestions and please share this with anyone who can use this in their advantage as well.
I hope this tiny tutorial has helped you and thanks for reading!